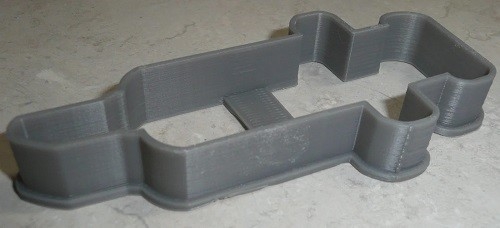
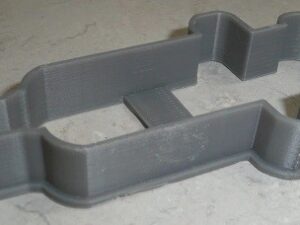
Needle Syringe Cookie Cutter can be a fun and creative way to add a unique touch to your baked goods, especially for themed parties or events like Halloween or medical-themed celebrations.
- Size: 4″ x 2″ x 5/8″
Here are some steps and tips on how to use it effectively:
1. **Prepare Your Dough**: Start with a sturdy cookie dough that holds its shape well during baking. Sugar cookie dough or gingerbread dough typically works best.
2. **Chill the Dough**: Before rolling it out, chill the dough for about 30 minutes. This helps prevent the cookies from spreading too much and defines the shapes.
3. **Flour the Surface**: Lightly flour your work surface and the rolling pin to prevent the dough from sticking.
4. **Roll Out the Dough**: Roll the chilled dough to about 1/4 inch thick for sturdy cookies. Make sure it’s even throughout for consistent baking.
5. **Cut Out Cookies**: Press the needle syringe cookie cutter firmly into the dough, ensuring you go through. Try to minimize twisting the cutter to keep the edges sharp.
6. **Transfer Cookies**: Use a spatula to carefully transfer the cut-out cookies onto a baking sheet lined with parchment paper.
7. **Bake**: Follow your cookie recipe’s baking time and temperature. Keep an eye on them to avoid over-baking.
8. **Cool and Decorate**: Once baked, let the cookies cool completely before decorating. You can add details with royal icing, fondant, or edible markers, making them look like real syringes.
9. **Store**: If you’re not serving them immediately, store the baked cookies in an airtight container to keep them fresh.
10. **Serve with Fun**: These cookies can be great for parties; you might even consider pairing them with little shots of colorful icing or syrup for a fun serving option!
Enjoy making your creative cookies!
